Wedge Adjustment and Function for Colt Black Powder Revolvers
Proper Wedge Adjustment for Colt Open Top Revolvers
On many new revolvers, especially those made by Pietta, the wedge is hammered into the barrel so tightly that it can even have a raised bump on the side of the barrel.
Ideally, you should be able to start the wedge into the slot and push it about 75% to 85% of the way through the barrel using only thumb pressure. Then the light tap of a plastic, nylon, rubber or wooden gunsmith hammer is all that should be required to final seat the wedge to the desired point. But just how far should the wedge go into the barrel?
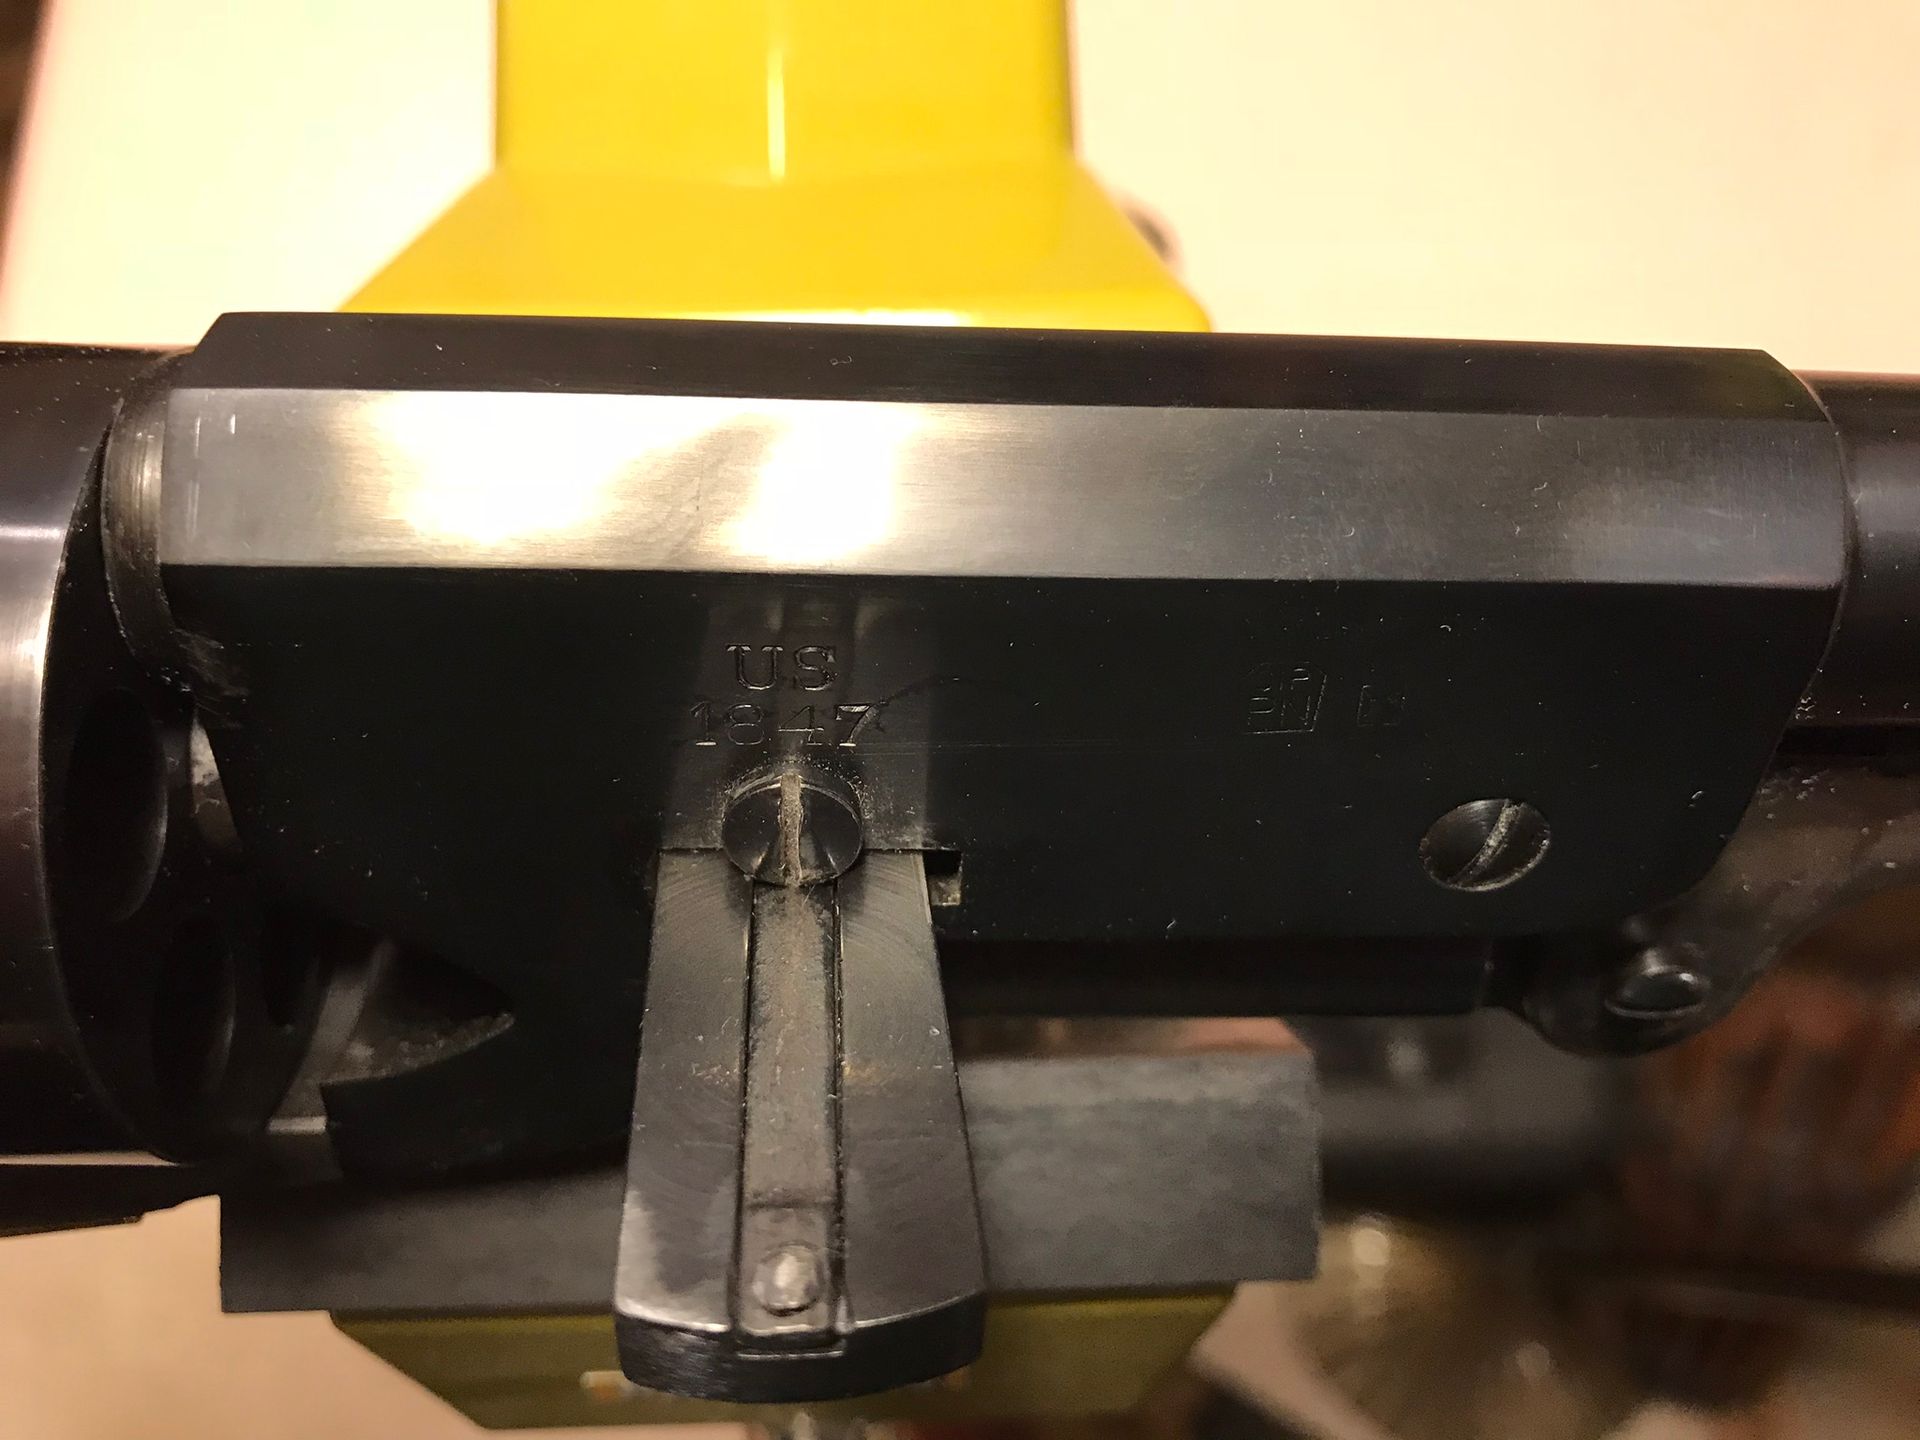
When the wedge is perfectly fitted the shoulder of the wedge should not quite contact the barrel side. Often times, the wedge will make contact with the head of the wedge screw before the shoulder makes contact with the barre. If your barrel is fitted correctly to the frame and arbor, the barrel should not ever be able to come into contact with the cylinder face nor should the barrel be pulled off center by the wedge, even if the wedge is driven in too far.
For Uberti made revolvers, there can be another issue. Some Uberti revolvers suffer from what is called the “short arbor” issue. Uberti has made some of their revolvers where the arbor does not seat itself completely flush with the arbor slot in the barrel lug. The arbor simply does not bottom out in the slot. According to Colt's design of his open top revolvers, the arbor ( base pin) should bottom out in the base pin hole. Uberti is the only maker who seems to have this issue. Read Colt's design below from his speech at the Expo in England in 1851.
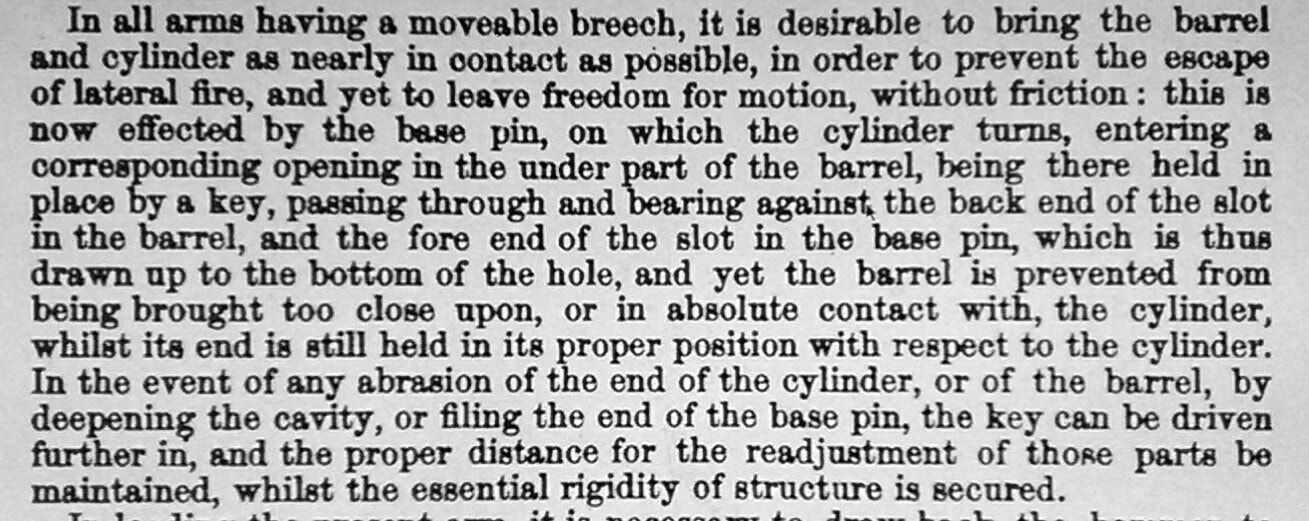
"In all arms having a moveable breech, it is desirable to bring the barrel and cylinder as nearly in contact as possible, in order to prevent the escape of lateral fire, and yet to leave freedom for motion, without friction : this is now effected by the base pin, on which the cylinder turns, entering a corresponding opening in the under part of the barrel, being there held in place by a key, passing through and bearing against the back end of the slot in the barrel, and the fore end of the slot in the base pin, which is thus drawn up to the bottom of the hole, and yet the barrel is prevented from being brought too close upon, or in absolute contact with, the cylinder, whilst its end is still held in its proper position with respect to the cylinder. In the event of any abrasion of the end of the cylinder, or of the barrel, by deepening the cavity, or filing the end of the base pin, the key can be driven further in, and the proper distance for the readjustment of those parts be maintained, whilst the essential rigidity of structure is secured. ~ excerpt from On the Application of Machinery to the Manufacture of Rotating Chamber-Breech Fire-Arms, and Their Peculiarities, Vol. 11, Page 12, Paragraph 2.
With Colt's design, as the wedge is inserted and locked into the wedge slot, the cylinder gap can be closed or opened to allow for the adjustment of the cylinder gap. But if the wedge is installed too tight, the cylinder may rub the forcing cone of the barrel or not turn at all. And if the arbor is short, the wedge can easily become too tight.
If the wedge has been installed from the factory too tight, it may be difficult to remove. If so, setting your revolver on two blocks of wood or on a padded vise aids in removing the wedge, so there is ample air space below the wedge. In order to keep from damaging the wedge or barrel frame during initial removal of the wedge, use a rubber or nylon tipped, flat head punch and a gunsmith hammer or a medium size ball-peen hammer to punch the wedge out. Or you can use a wooden or plastic clothespin half to punch out the wedge to keep from damaging the wedge or barrel frame.


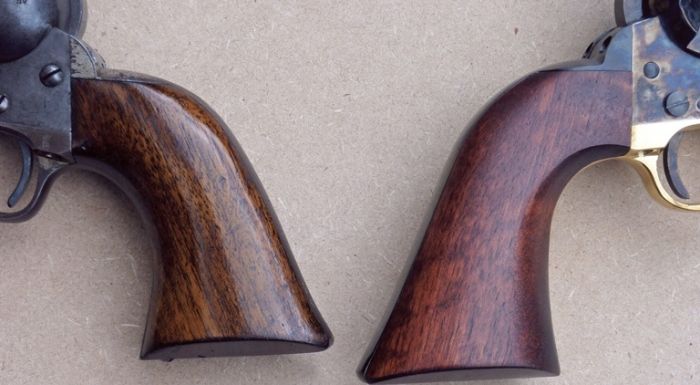
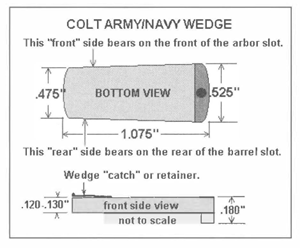
Once the wedge is removed, you can begin the honing (filing) down process on the left side (pressure side which comes in contact with the arbor ) of the wedge with a honing file or fine-tooth file. You will note that the left side of the wedge is generally narrower than the right side. It is the left side of the wedge that comes into contact with the arbor as it is inserted into the barrel opening and into the arbor wedge opening. This is the side we want to thin down.
After initial filing, put the wedge on a stone and polish that side until it is smooth. Only if necessary, repeat the process on the right side of the wedge, testing frequently, maintaining the original wedge dimensions as close as possible, until the tip of the wedge spring just sticks out of the barrel with thumb pressure on the wedge.

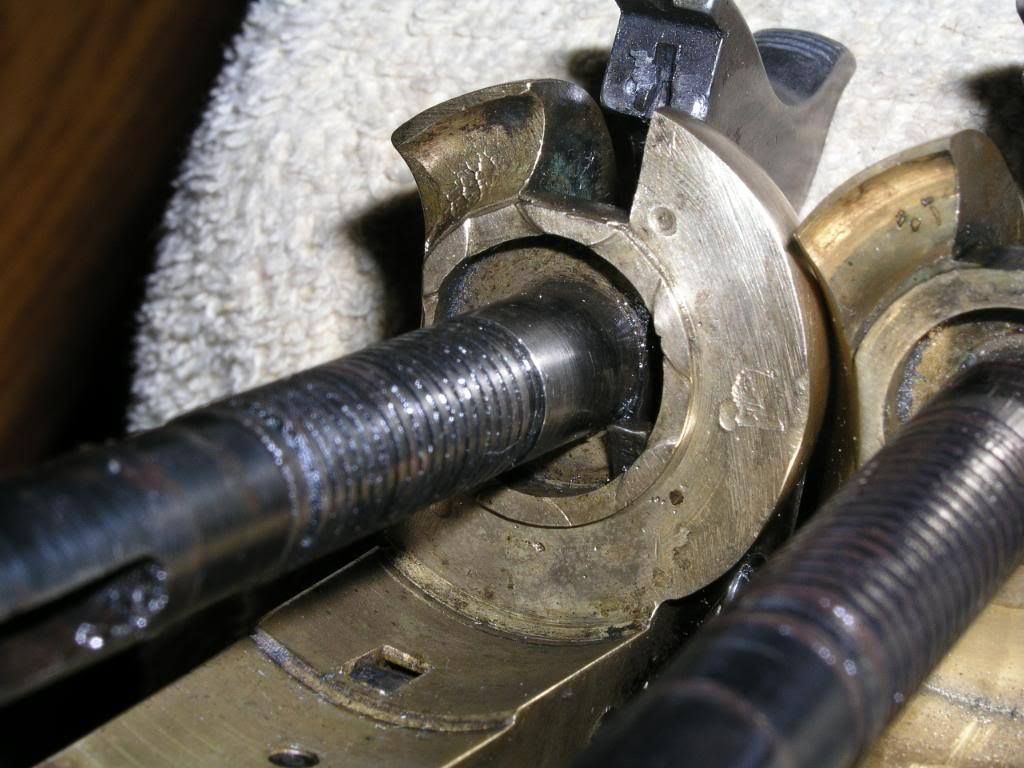
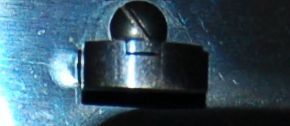
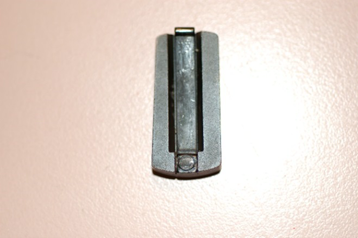
Notice that the wedge retention spring is sticking just above the wedge opening of the barrel in the photo above. It is this spring that keeps the wedge from coming out of the opening as it hooks itself to the wedge opening in the barrel. Make sure this spring is protruding above the opening as the photo shows. It is the wedge retention screw that keeps the wedge from falling out of the barrel when the barrel is removed, and the wedge retention spring that keeps the wedge from coming out of the barrel and arbor opening under normal firing. When the gun is shot, the wedge may loosen a little more causing the wedge to go a little further into the barrel. But, as long as the wedge is tight, and the lip of the wedge spring is past the edge of the barrel, the wedge will be fine. Again, the primary purpose of the wedge retention spring is to lock the wedge into the barrel and, upon barrel removal, to catch on the wedge screw and keep the wedge from falling out of the barrel when as it is pulled loose to remove the barrel for cleaning.
When the wedge is inserted through the barrel assembly, that is, inserted left to right as seen from the back of the gun, depending on the model, the wedge retention screw head depresses the spring so that the lip of the spring is lowered and does not interfere or contact the barrel assembly as the wedge is being inserted or removed.
With the wedge fully inserted the spring is still depressed such that the lip on the spring is below the outer mold line of the wedge and thus fully within the channel in the wedge. It does not protrude above the wedge and cannot contact the barrel assembly or interfere with removing the wedge.
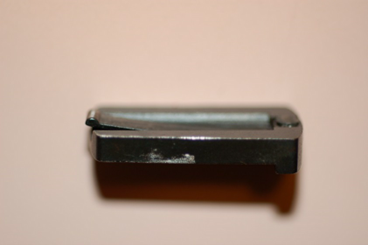
Notice above that the wedge retention spring is curved upward towards the lip of the spring. Be sure this curvature remains intact at all times. Do not try to straighten the spring as that will cause the lip to not engage the barrel frame and it will become insecure.
When the wedge is being loosened, the screw head allows the spring to return to its undeflected (pushed downward into the spring channel) position as the wedge moves right to left, out of the opening. In the fully loosened position, the lip on the spring contacts the back side of the screw head and prevents the wedge from being fully removed from the barrel assembly. This is the intended purpose of the spring, the spring lip and the screw. A fully functioning wedge should be easily loosened by hand if all parts are functioning as they should.
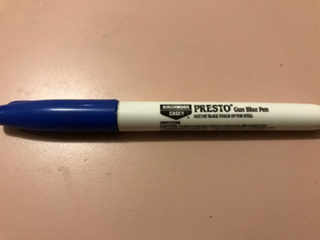
After the proper fitting of the wedge, I recommend using a Presto Gun Blue Pen to re-blue the wedge in locations that you honed it down or to remove any scratches. This will keep the wedge from rusting and help maintain its color uniformity with the revolver.